Welcome to AISQ’s Next Level Marketing AI!
Access means you’re ahead of the curve, armed with tools that will revolutionize how businesses approach content creation, SEO, and marketing automation.
With Next Level Marketing AI, the future of end-to-end marketing is in your hands today.
Excited to experience true End-to-End Marketing done for you by a team of AIs that works 24/7 for your business? I bet you are!
So, dive into this guide to start exploring how to claim your codes, set up your account, and put this groundbreaking system to work.
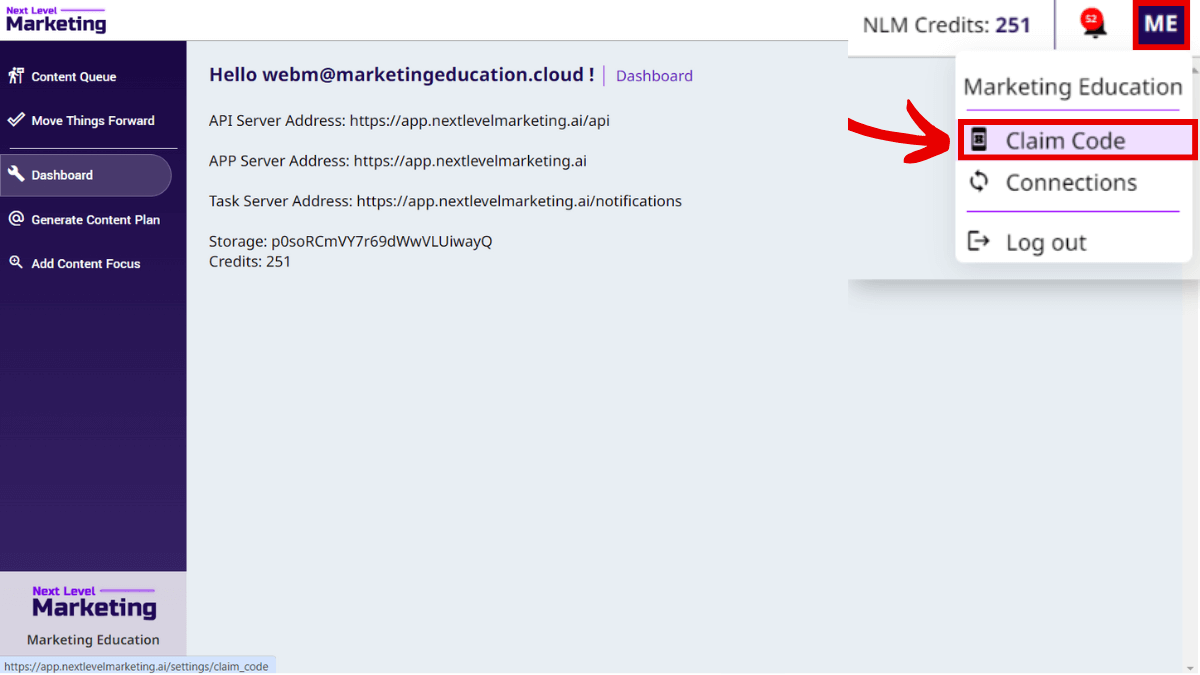
3. Insert your code
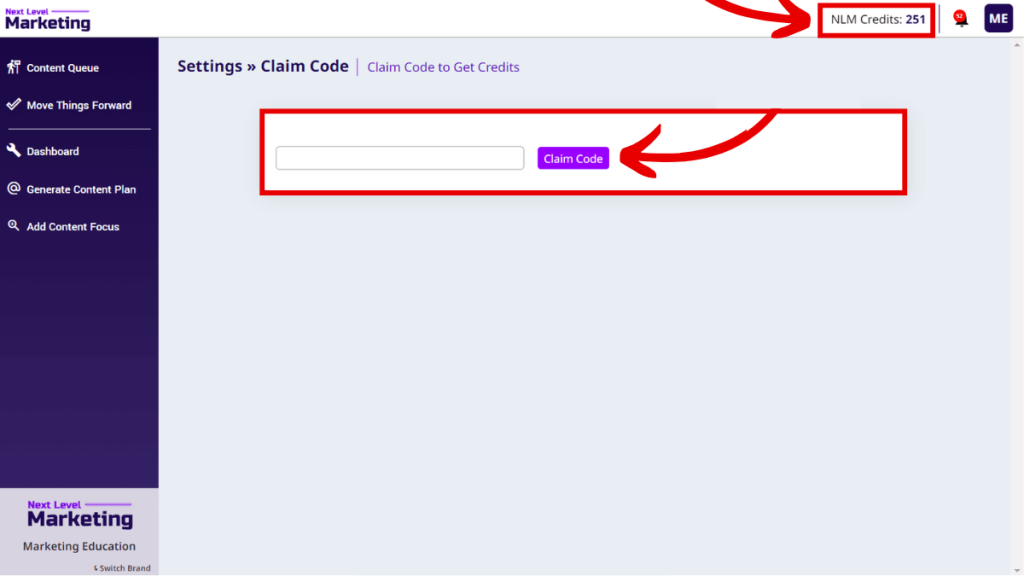
👋 If you have more than one code, add them one at a time by repeating these steps.
4. You will see in the top right of the screen that your total credits have been updated.
5. Awesome, you’ve claimed at least one code! Now you can begin. Go to “Generate Content Plan” and write a topic, or a keyword to get started.

6. Next Level is now working on an extremely complex process on your behalf. The users of RankJumps by Squirrly have to wait 3 to 7 business days for our SEO team to provide this level of research. Until now, computers and systems were not able to perform such a detailed research. It goes above and beyond what you find in ahrefs or semrush. This has never been done before and is very resource-intensive.
SO: know it takes a while, because we open up many new servers and worker systems to work on hundreds of mini-tasks in parallel, including computers with the Chrome Browser that read content from the sites of all your competitors for those keywords or topics.
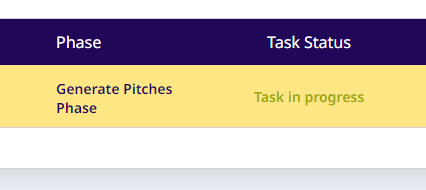
7. When the process is ready, you will see this

8. Click on Start Content Plan
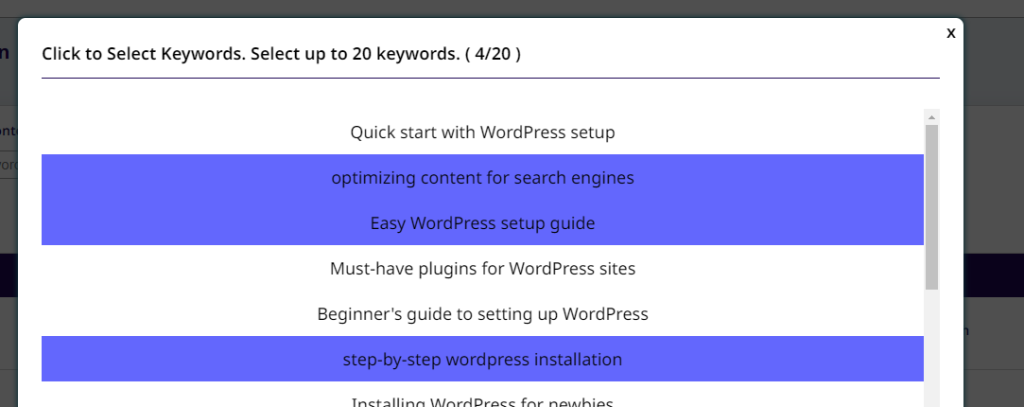
9. Choose keywords from the list. EVERY SINGLE KEYWORD (or call them keyphrase if you want) will have low competition. We use a system that combines some brand new technology that doesn’t just stop at using Market Intelligence by Squirrly and it deduces if the sites with big authority on each TOP 10 search for every single keyword does indeed have an SEO optimized presence for that keyword.
Remember: the Squirrly Company beat Amazon and Microsoft for the keyword “focus pages”. Next Level will also know how to think in such scenarios, so all the keywords returned in this panel are perfect to use.
10. Finish selecting up to 20 keywords.
11. Click on: Generate Pitches once you are done.
12. Now, AISQ’s Next Level Marketing will begin working on creating 3x different pitches for content.
13. Wait until they are generated. At our Agency, back in the day, customers were waiting about 1 or 2 business days for us to bring them the list of pitches to choose from.
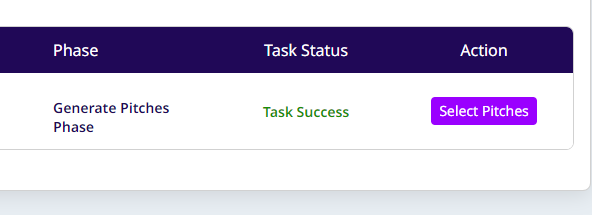
14. Now select your pitches
15. Choose 1 from each set of 3 pitches / topic.
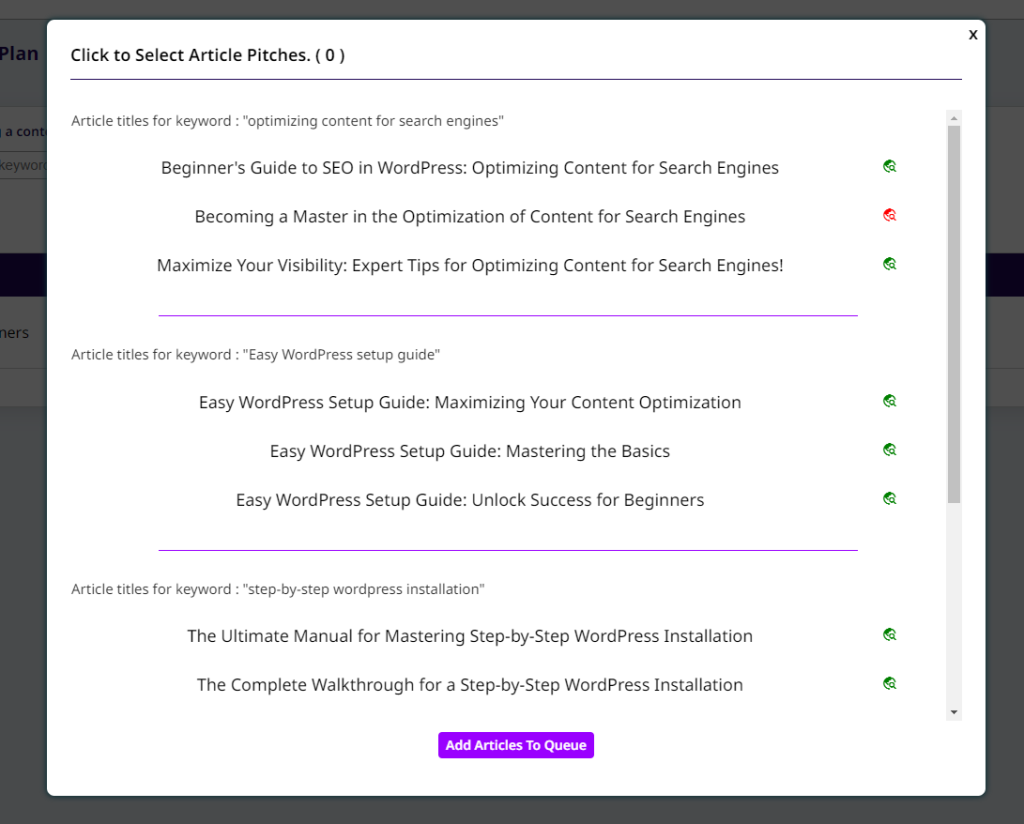
The green marker means that the given title is SEO optimized.
Red means it’s not fully SEO optimized for the keyword. You should not get blocked in this. Choose what sounds best. There are ways to make SEO titles for search purposes later on. I will teach you.
16. I will only choose 3 now, to show you
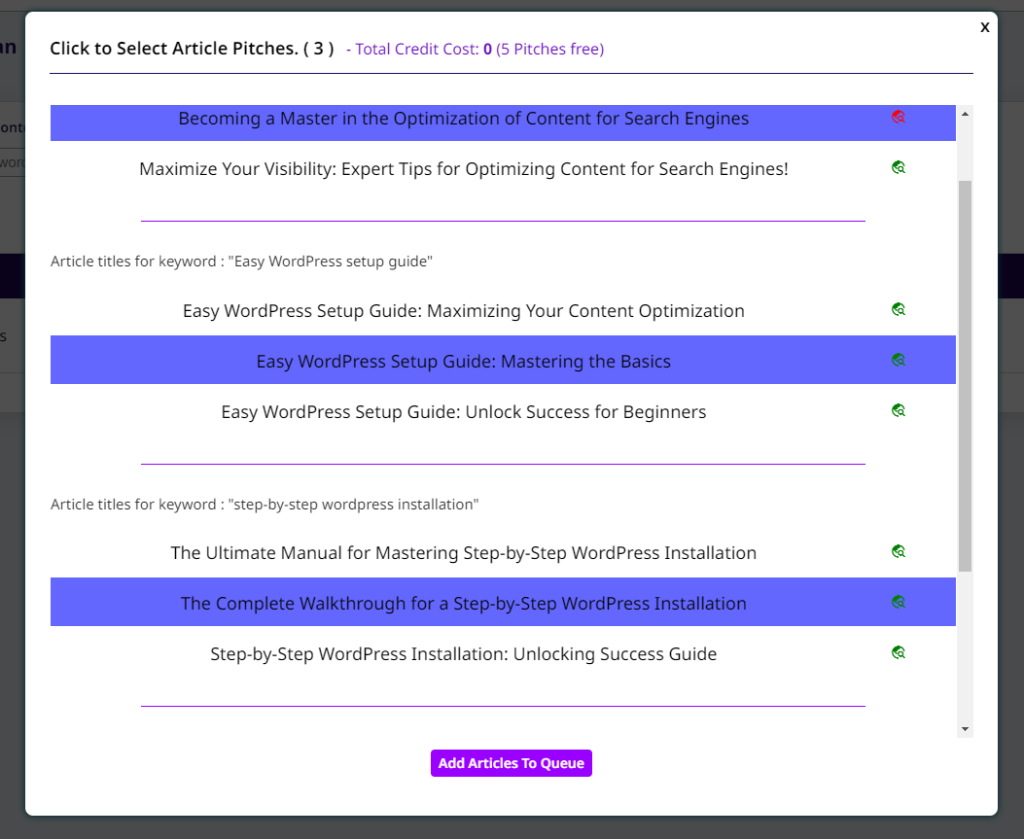
And I click on Add Articles to Queue.
17. And just like that … You have a complete CONTENT PLAN !!
Now, think about this: most users will spend time choosing 20 pitches for starters. That’s a big content plan that can cover 20 weeks of content! Can you imagine?
Or, you could use that content plan to make a website that you’ve just finished designing to instantly have 20 pages on it (which is the golden number you need to obtain in order for Google to consider ranking your website in search)
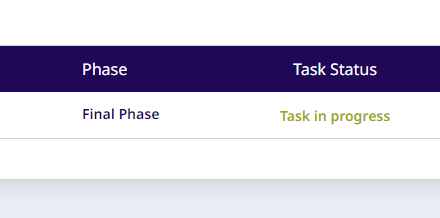
Now, the status changes to:
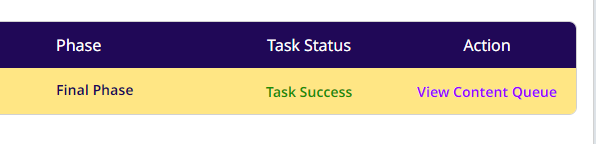
Click on View Content Queue (which is your content plan)
18. Let’s see the plan.
THIS IS WHERE IT GETS INTERESTING for small business owners.
We’ve tested this part right here with various types of businesses:
And every single AI writing tool that does NOT do this step for their users — sets their users up for failure —
Next Level Marketing is here to also change this, by giving you the Flavor Wheel:
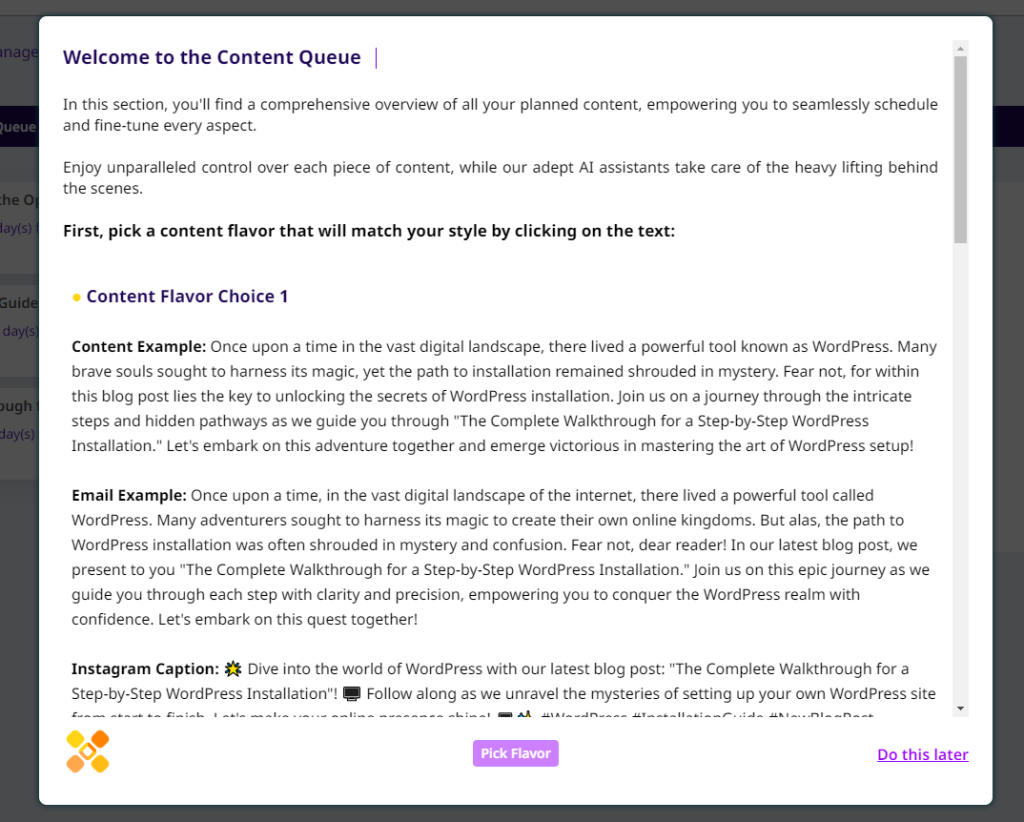
Choose your content flavor.
In the background, we’ve already saved preferences regarding your account.
Once you choose your favorite sample – Content Flavor Choice 2, for example, we will save those preferences as well.
Every single one of these 4 flavors is created dinamically for you, according to special data. It is NOT a one-size-fits-all.
This was the biggest change in alpha version 1 that we had to do to make our clients love the content this AI was producing.
This will help you set up a proper tone of voice. One that makes sense for your business (from the current brand you’re on) and one that you feel is right.
Just by reading the Content Example | Email Example | Instagram Caption Example, you will get a feel for which of the 4 is the right one for your brand.
19. I chose just for the purpose of this demo, something that I would like.

I then hit the Pick Flavor button after making my selection.
20. You can now see the content plan.
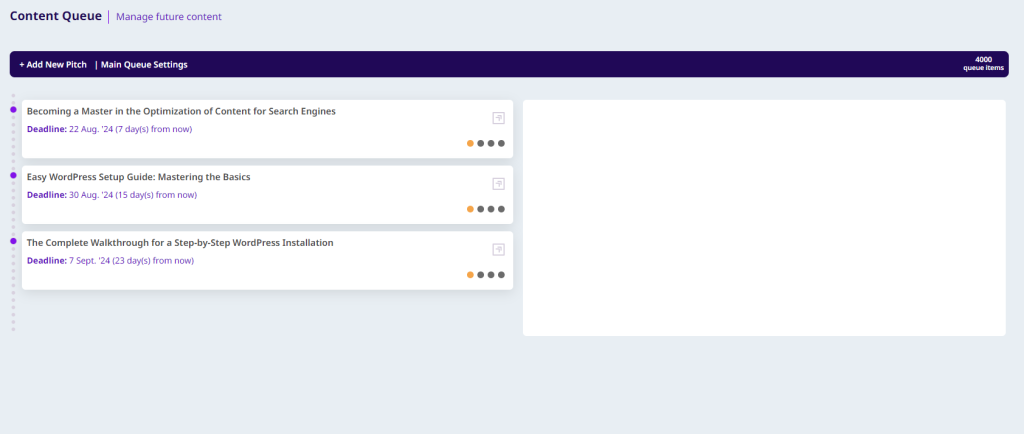
Click on a content item from the list to begin.

You can click on the Content Writing Assistant (the image on the right side)
If you want the AI Content Writing assistant to start generating the content right away, use the “Write Now” option shown below. That will trigger it to automatically create the content right now on the spot.
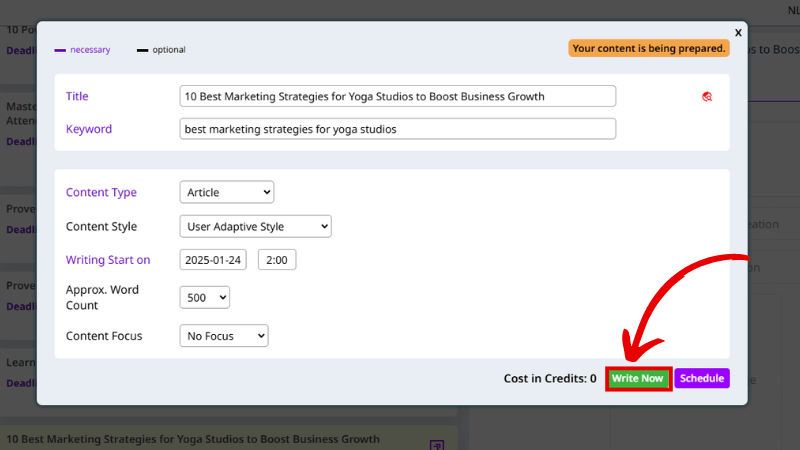
Otherwise, select a date for when you want the writing to start.
You can also choose the number of words. At our Agency at the Squirrly Company, clients from the US, Germany, and the United Kingdom were paying us $75 or $100 USD for each 500 words.
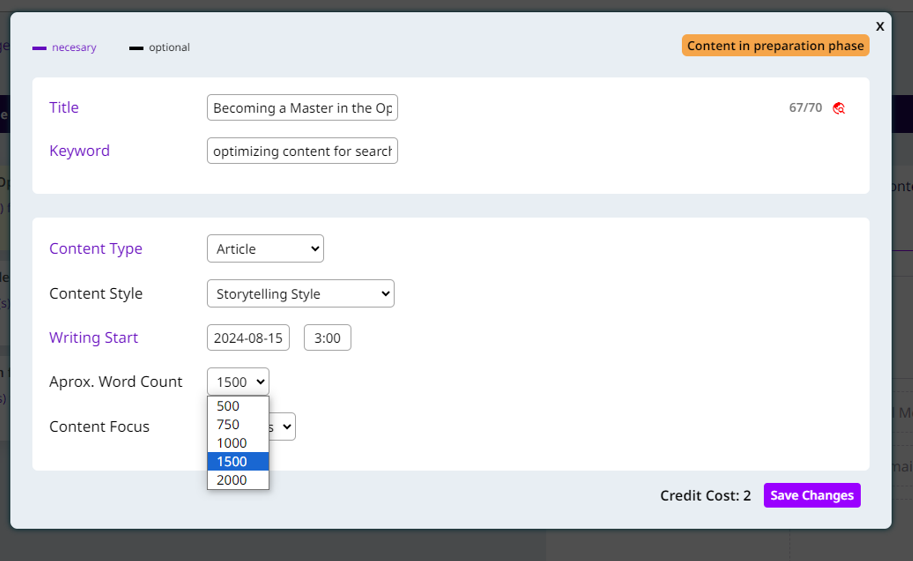
For a 1500-word article or page, they paid us $225 USD / content. One of our clients was paying us $300 USD for a 1500-word page on his site.
With Next Level, you’re lucky because it only costs you 2 credits.
We use a very special workflow to make the AI write such long-form content and I hope you will like the generated articles.
You can also place a Content Focus on it. — but you will need to create it first, before you “talk” to the Content Writing Assistant. Find it in the left menu of the app.
Click on Save Changes.
21. NOW See that the status has changed.
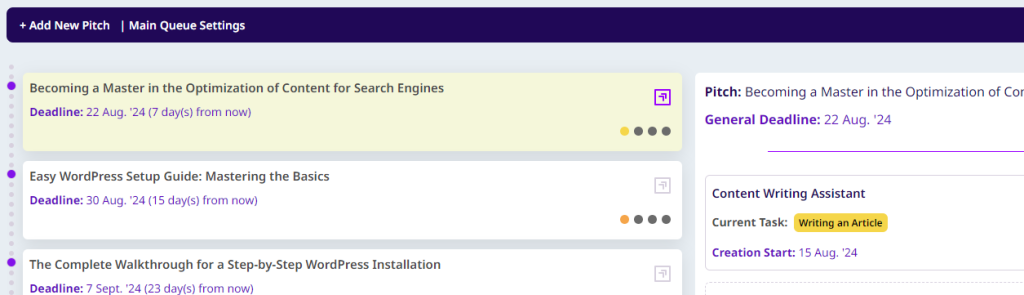
The dot changed from Orange to Yellow.
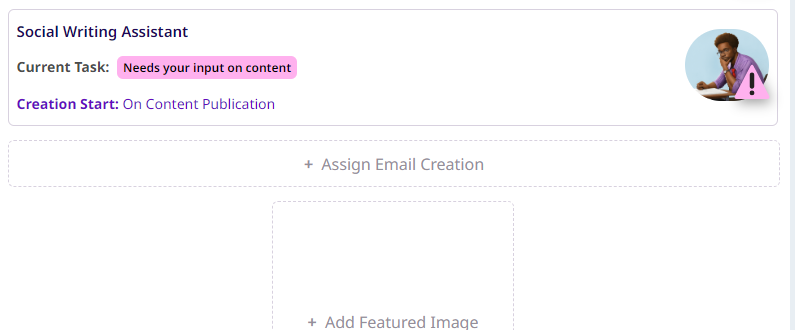
Also, the Current Task of your AI writing Assistant is now : “Writing an Article”
Writing is now officially in progress.
22. And now the content is ready for you to verify.
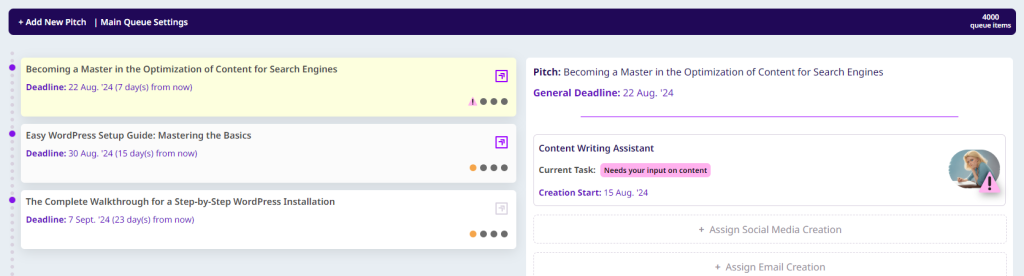
Needs your input means that you as a business admin now need to go and make the approval.
It’s exactly the same when you work with an Agency… but unlike the clients of our agency, you no longer wait 5 days for a piece of content to be finished and sent to you for approval.
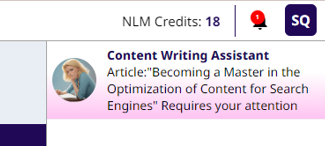
A notification will also get displayed in the top right corner of your screen.
If you click on any of these, you will be taken to the Move Things Forward section of the app.
We think that most business owners will spend time only in the Move Things Forward.
They will make their approvals and then the system will handle the rest.
23. Let’s move things forward
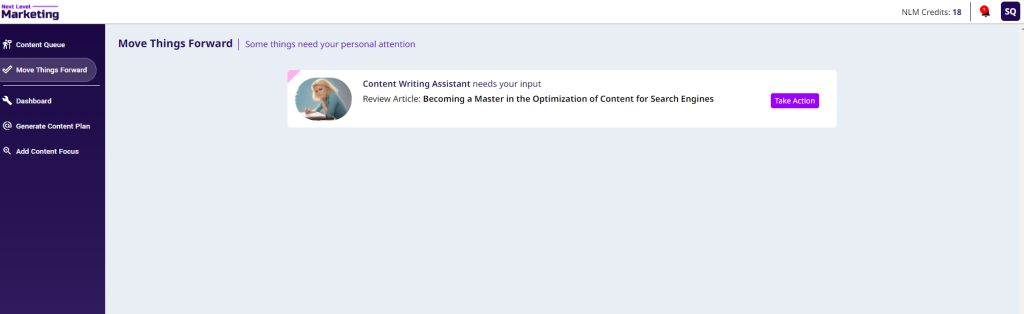
Click on Take Action.

You can make your edits right here and Save Changes.
As you can see: this content is now SEO Optimized! Excellent SEO is now easier than it ever was before.
You can even return later to finish approving it.
We recommend that you verify the content and make minor changes if needed using this panel.
So what do we have?
WOW. All of that from just one keyword?
Imagine what you can do. Imagine how you can scale.
You can start as many content plans as you want.
From an initial topic – you got perfect keywords – pitches – style and flavor to make sure the content will be spot on – a plan – a content AI to make that plan happen.
And now, by this point, you have actual content.
In this phase of development for Next Level Marketing, we will want to bring in business owners who use WordPress.
Next Level can easily be used for any kind of website. You can EVEN USE IT FOR YOUR MEDIUM BLOG OR YOUR LINKEDIN ARTICLES.
But, we need to test the WordPress Plugin for Next Level Marketing right now, and the AI Specialists inside Next Level Marketing which handles the SEO side of things are currently only available through the WordPress integration.
— SEO when it comes to SEO distribution to search engines and meta tiles + meta descriptions. It has nothing to do with the initial SEO research that I have already walked you through —
Here’s the plugin you will need to install and use:
Download it from here and install it in WordPress.
Find it in the left menu of your WordPress.
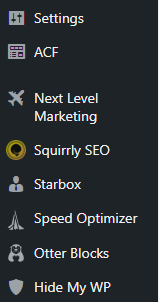
Click on it.
Now you will need to place the token to connect your WordPress Plugin for Next Level Marketing by AISQ to the Web App of Next Level Marketing.
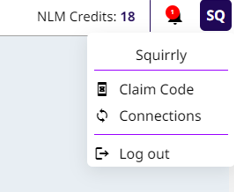
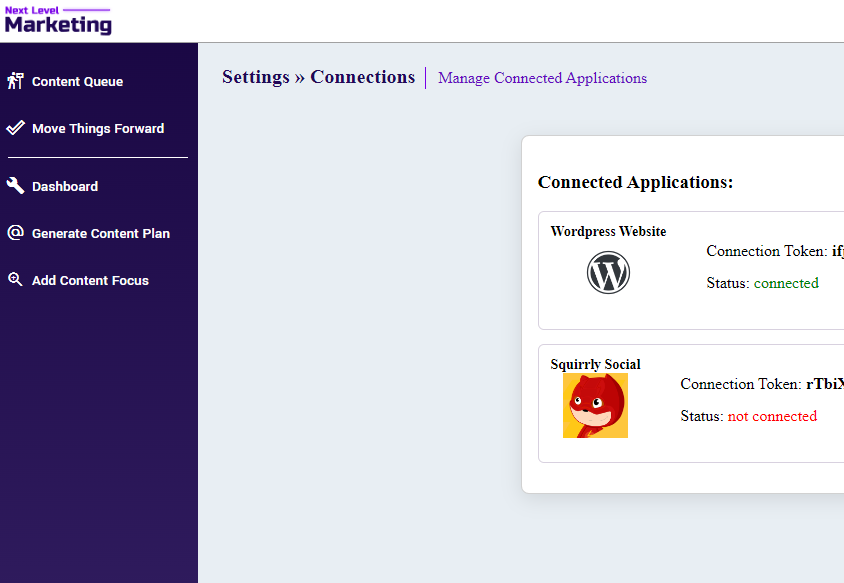
Click on Connections inside the web app.
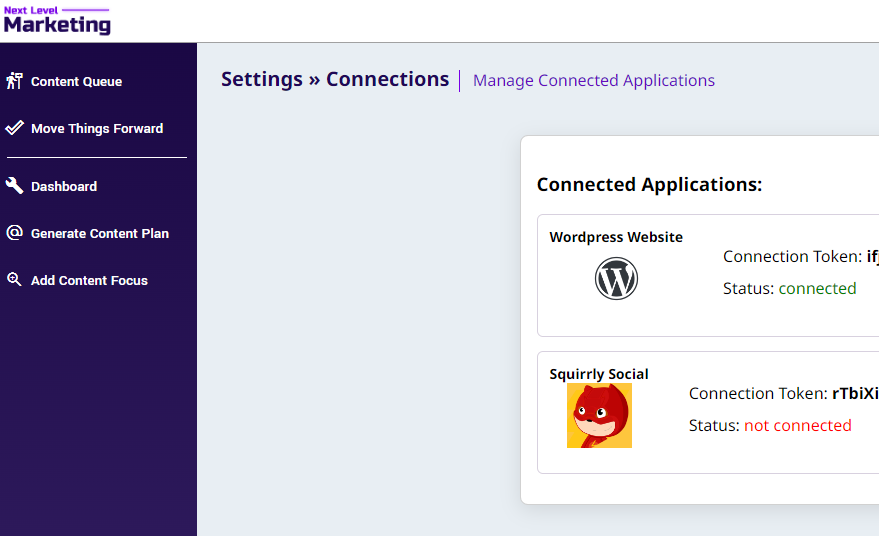
You will need to click on the box with WordPress Website. It will copy the code for you.
Paste it inside your plugin.
After you paste it, click on the blue button and wait. Wait just 2 seconds. Then click again.
It sometimes takes a while to register in the database and send the response back to the UI, so please make sure you wait in this step.
Good, now the connection is established properly.
If you see no content inside the plugin, it means you haven’t selected any content to go to WordPress yet.
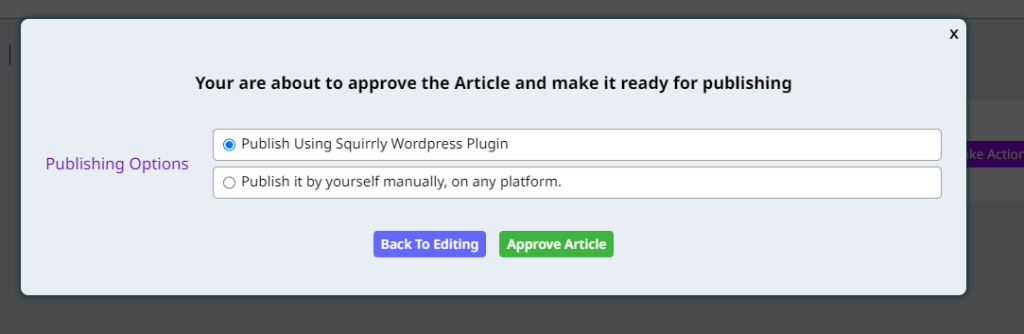
If you select that first option, it will push the content from the web app to the WP Plugin.
And then it will appear inside the WP Plugin.

This is where you see the content that was generated with Next Level Marketing.
Green means that the content already went through the publishing process — more on that soon —
It’s the yellow one we need to look at. Click on the 3 Dots vertically aligned.
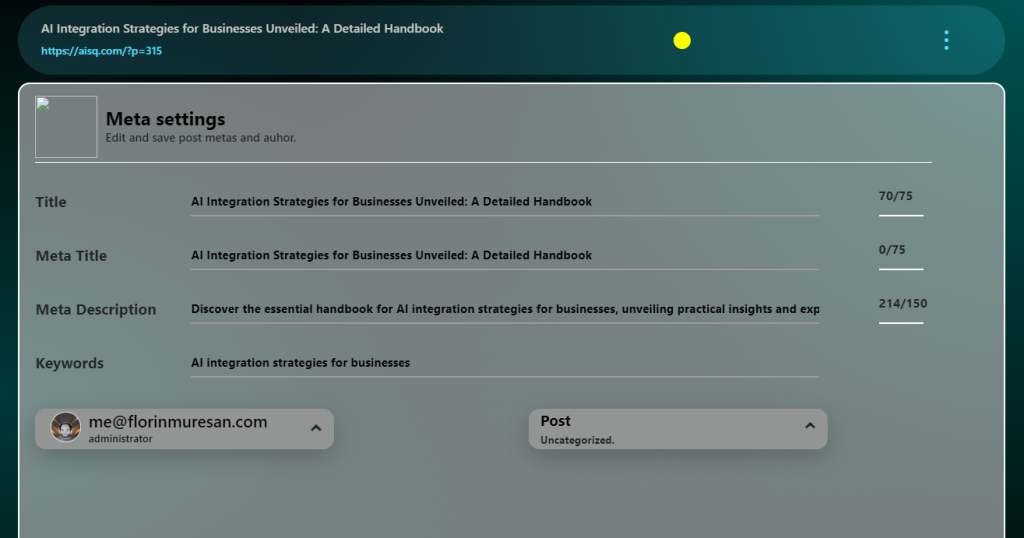
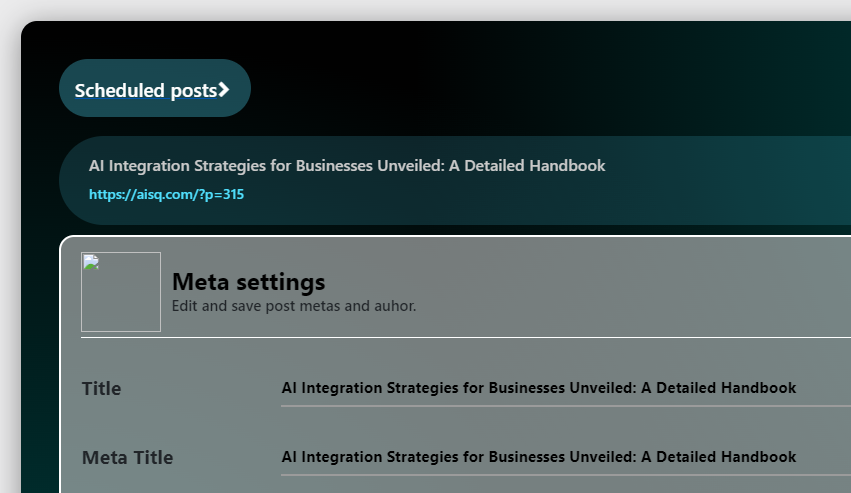
You can change the Meta Title and Meta Description.
You can switch the author. For example, the default WP is with that account, but we don’t want that. Everything needs to be published under AISQ name. With that author drop-down element, you can easily switch from here.
Also, see POST there?
You can use that to send the blog post to a different blog category.
Or to move the content to a “Listing” post type. And then select one of the categories we have on this site for the post type “Listing”
It’s easy to use this interface and switch up post types.
Now, for those of you who love SEO, the magic of SEO here is that Next Level Marketing has actually assigned tasks to the:
AI SEO Specialist from Next Level.
It’s not obvious at the moment in the UI, as the AI Content Writing Specialist and the AI Social Media Specialist, but worry not: it’s doing some heavy lifting for you.
First off: once the AI Content Writing Specialist finishes writing the content, the AI SEO Specialist begins creating the Meta Title and Meta Description for the content.
This is how you send your content to search engines via Next Level. * we will also create a similar feature for NON-WordPress sites, using the Cloud APP of Squirrly SEO.
Now let me show you the scheduling side of things.
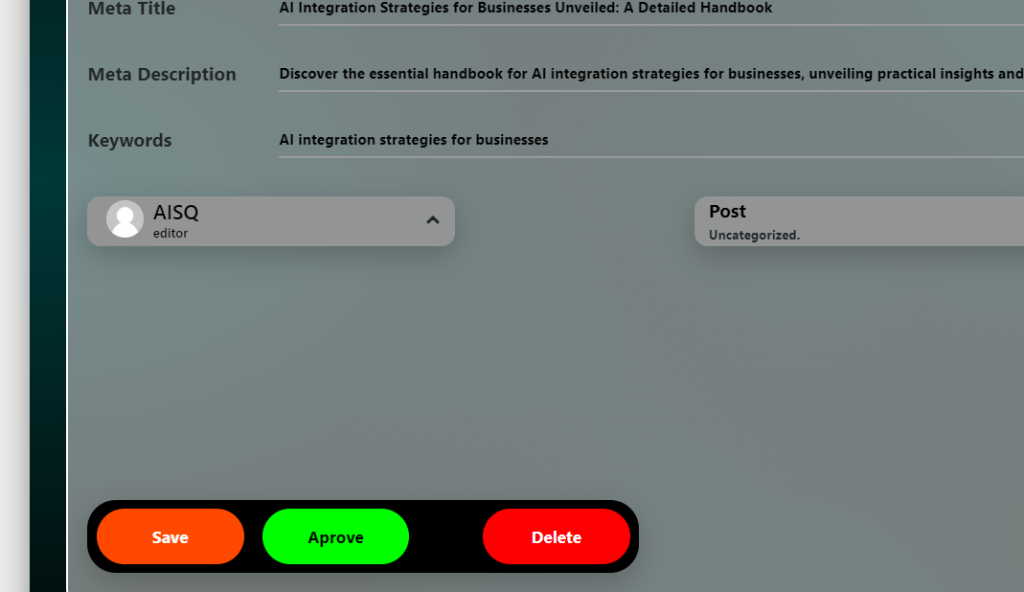
Hit Approve.
Then go to:
Scheduled Posts >
If you already have times and dates set in the scheduler, then:

You will receive something like this.
It is going to automatically publish it according to the rules set when you click the 3 Light Blue dots from the top right of the panel.

So, it found that it can have a slot on Thursday at 6:40 PM
You can play with those settings as you want.
It’s now a very streamlined experience for scheduling and publishing, just like we have in Squirrly SOCIAL.
The WordPress plugin will send the URL of the published post back into the Next Level Web App after it publishes it.

That’s very important for the next AI Specialists who will handle marketing tasks for your business.
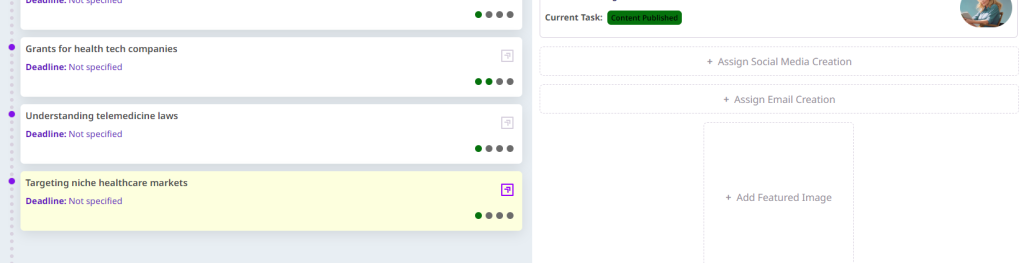
Let’s choose this content now.
And click on Assign Social Media Creation.
You will be able to also do it manually (you can today, I mean), but we need to test the workflow with the plugin a bit more.
Social Media Writing AI Specialist only starts working when the post has already been published. Otherwise, it can’t have a URL and content to write about.
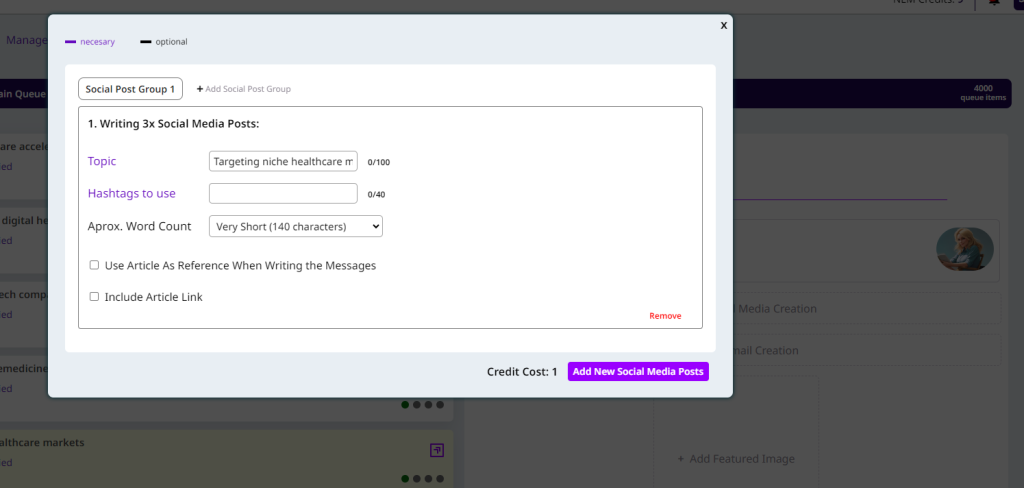
You should use the Article as Reference:
That’s why you should also choose: Include Article Link.
You can use the + sign above in the Social Post Groups. You can create a maximum of 10 Post Groups.
For example, you can have a post group with Instagram Captions, one with Short Twitter/X Posts, one with Facebook Messages, etc.
This is also what we used to do manually with human writers for the clients of the Squirrly Agency back in the day. They loved that we created personalized messages for each platform.
Let’s set this up and click on Add New Social Media Posts.
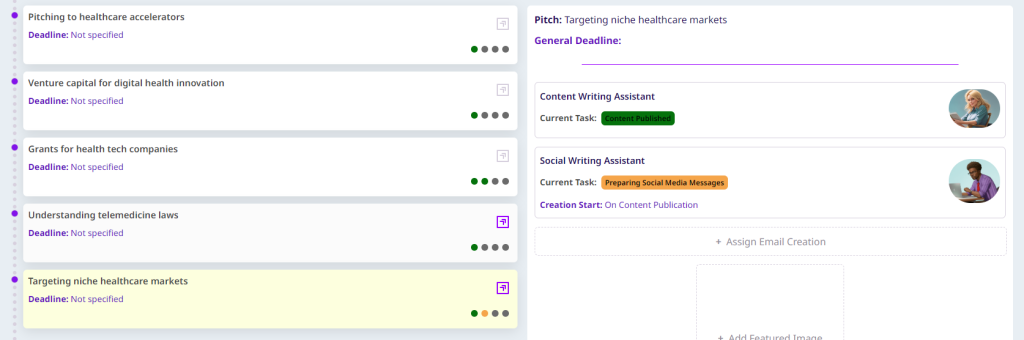
The Social Writing Assistant has now begun working on the new social media messages for this new content.
You can also see that out of the 4 grey dots for this post, you now have a green dot, a orange-ish dot and two grey dots.
This easily shows users that the Writing Specialist finished the task and that the Social Media Specialist is currently working its task.
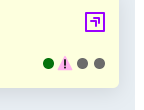
When you see the triangle, it means it’s ready for you to go and approve.
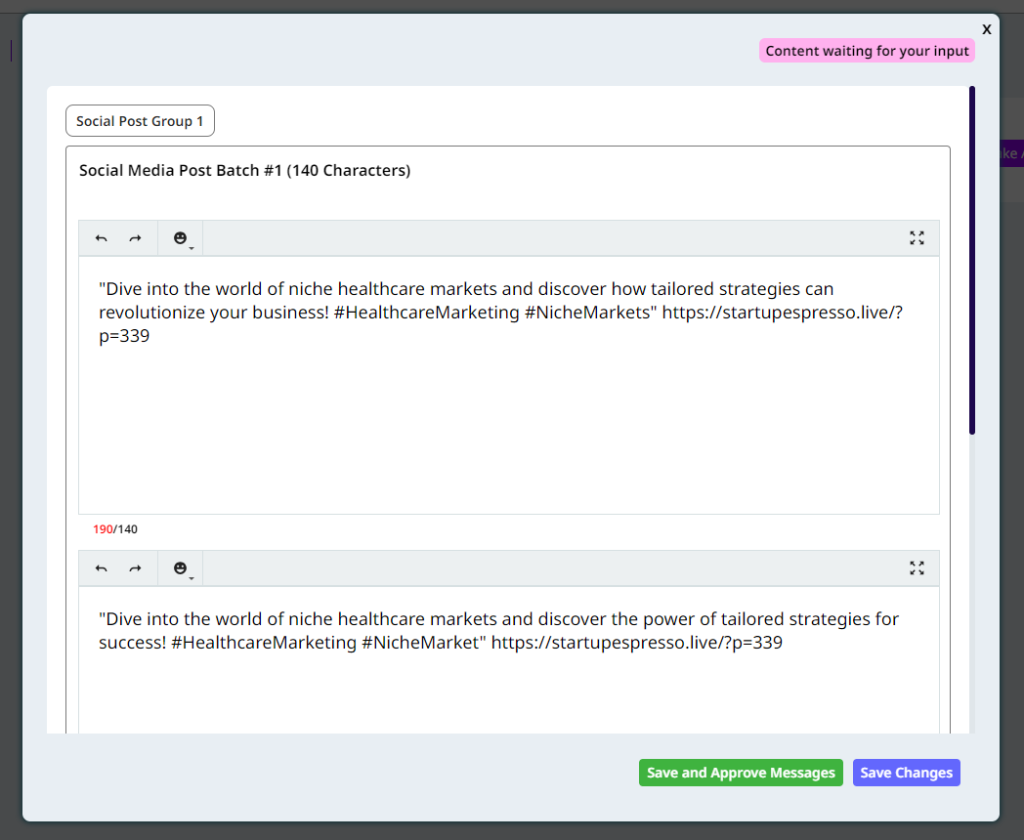
You should review and add as needed.
You can create a free account here: https://app.squirrlysocial.com/register
Then, in Squirrly Social go to:

And Next Level Marketing.
MINE is already connected. BUT yours won’t be, so in the big white box from here:
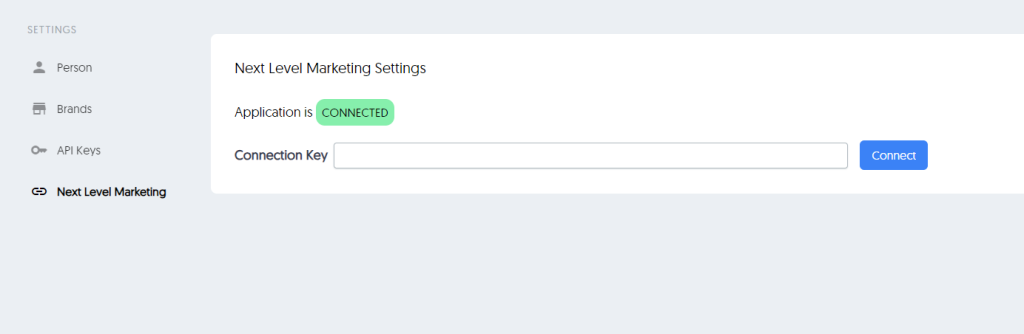
you will need to paste the connection key of SOCIAL that you find inside:
Then return to your social media posts from the Move Things Forward section of Next Level Marketing and click on Save and Approve.
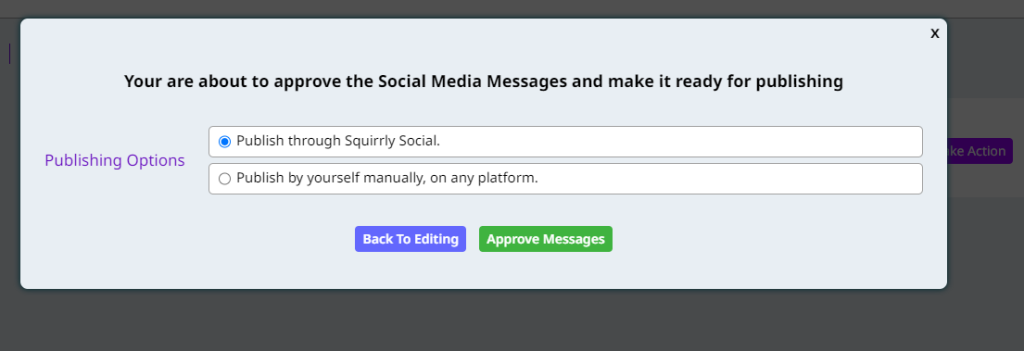
Select that.
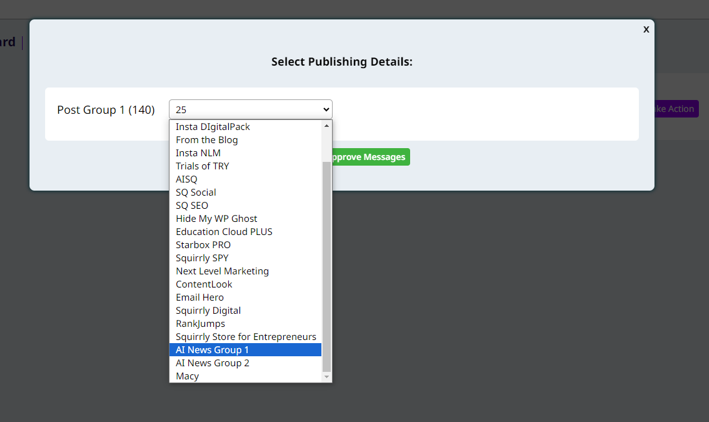
The beauty of it is that you can now select one of your Post Groups from within Squirrly Social. This opens the gates for some very advanced social media strategies you may create for your brands.
I will add this post to AI News Group 1.
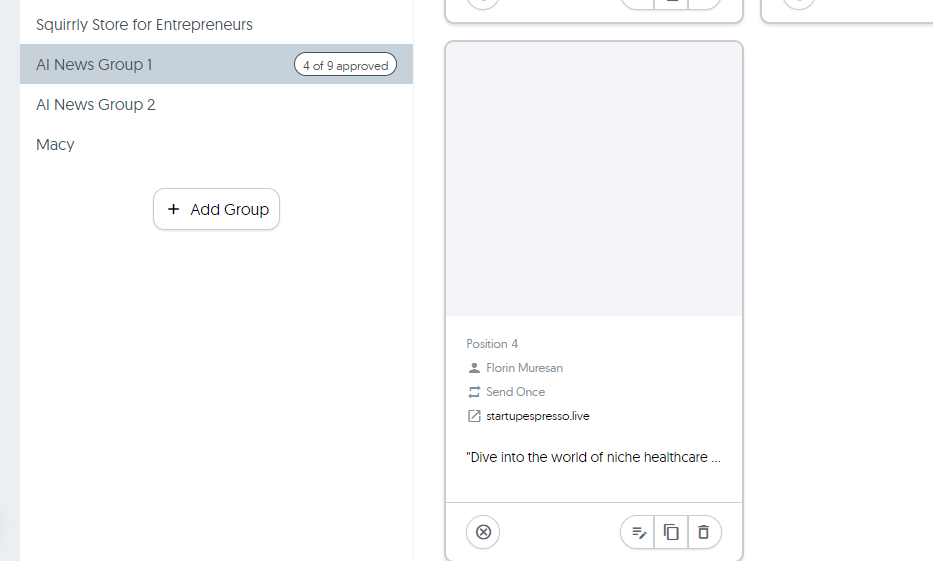
We can now find the post all ready to be scheduled by Squirrly Social, following the rules:
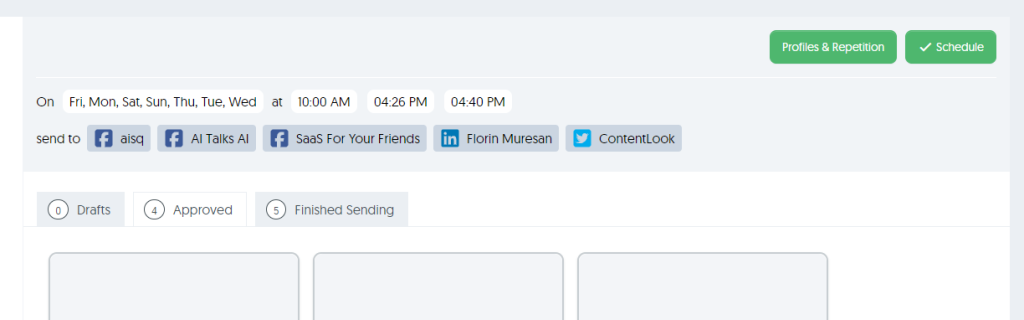
You can play with those settings to suit your needs.
This feature is a game-changer, especially for agencies with multiple clients or businesses managing multiple brands.
As a user of Next Level Marketing, you can create up to 4 different Brands inside your Next Level Marketing account, to use for different projects. If you need more than 4 brands, you will have to ask us at support@squirrly.co to create more brands for you. We will do that manually.
Also: at the moment, you’ll be able to manage the brands yourself, but you will not be able to send out guest accounts for your clients. We’ve recently built such functionality into the v2 of Squirrly Social, and we’ll soon bring it to Next Level Marketing as well.
Each brand you create will need its own credits, so you can begin AI End-to-End Automations (you need to claim at least one code on each brand).
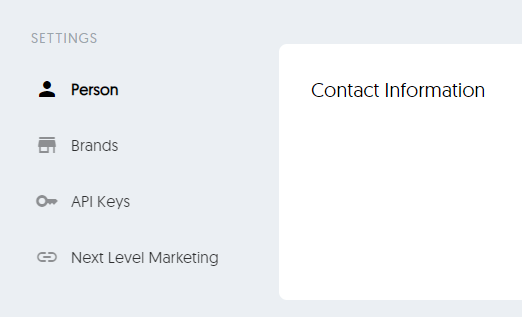
Okay, now that we got that out of the way, let’s go over how you can access, add, and edit brands in AISQ’s Next Level Marketing AI.
Navigate to Your Profile

View Your Current Brands
Inside the Manage Brands section, you’ll see a list of all the brands currently associated with your account.
You can create up to 4 different Brands inside your account, to use for different projects. Need more? Reach out to us at support@squirrly.co to add additional brands.
Once inside the Manage Brands section, you’ll be able to quickly add a new brand. Just follow these easy steps:

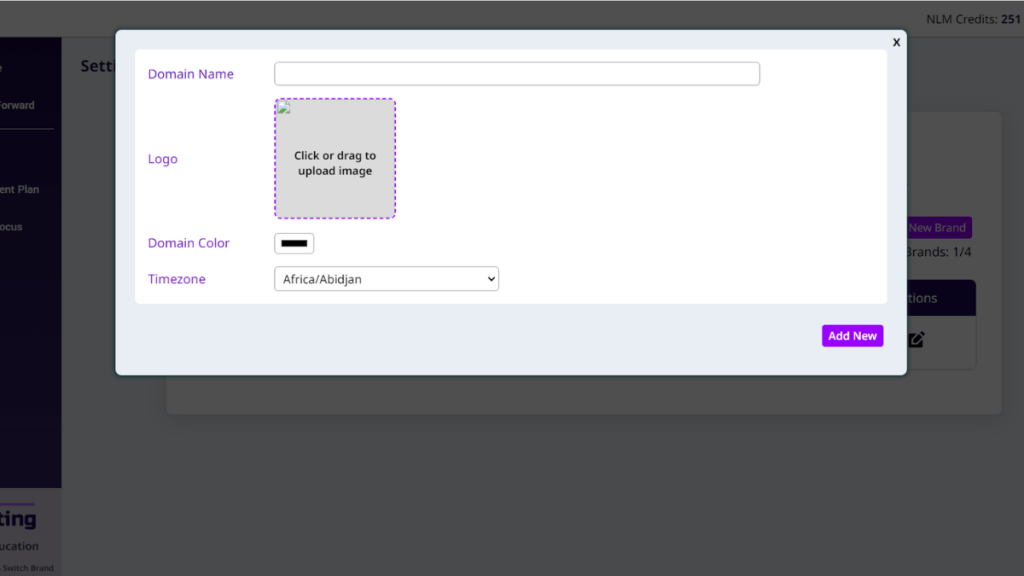
Right now, you can customize the following:
3. Save the Brand. Once you’ve filled in all the details, click the Add New button.
Your new brand will now appear in the list of brands. 🎉
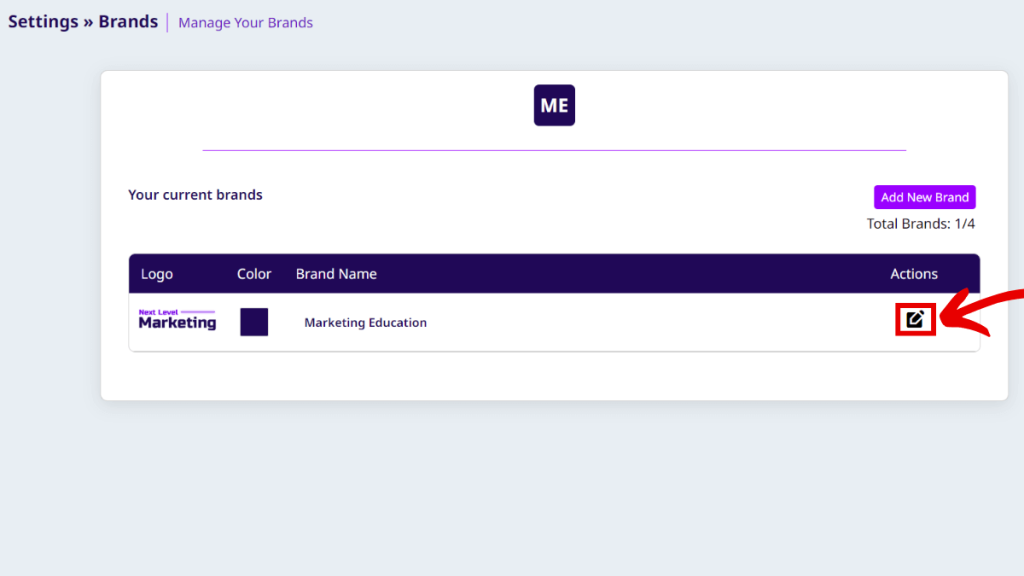
Do you need to make changes to an existing brand? Here’s how:
Easily manage your tasks for different brands by switching workspaces directly from the main navigation panel.

Your very first implementation of End-to-End Marketing Automation done for you by AIs.
Only the initial setup takes time.
After this initial setup, like I’ve walked you through today, you’ll see that with about 1 hour/week spent in Next Level Marketing Web App and the Next Level Marketing WordPress Plugin, you’ll be able to have consistency in your online marketing.
Gone will be the days of “oh, man. Can’t believe I forgot to post anything at all last week”
We hope you’ll love this at least as much as we do!

Gateway to AI Adoption. This is the Future of Marketing.